Thanks a lot to Linuxiac! This guide was written by Bobby Borisov: you can find the original here: https://linuxiac.com/void-linux-installation/
Void Linux is an independent Linux distribution following a rolling release model, developed entirely by volunteers. It appeals to users who prefer a lightweight, minimalistic, highly customizable Linux experience. What sets it apart from most other distributions is that Void is not a derivative of any other — it is a genuinely original build from scratch.
Most importantly for us: Void is systemd-free by design. It uses runit as its init system — a minimalist, extremely fast supervisor that is easy to configure and true to the Unix tradition. Void will never ship systemd by default. This is not a political stance by the maintainers. It is simply part of what Void is.
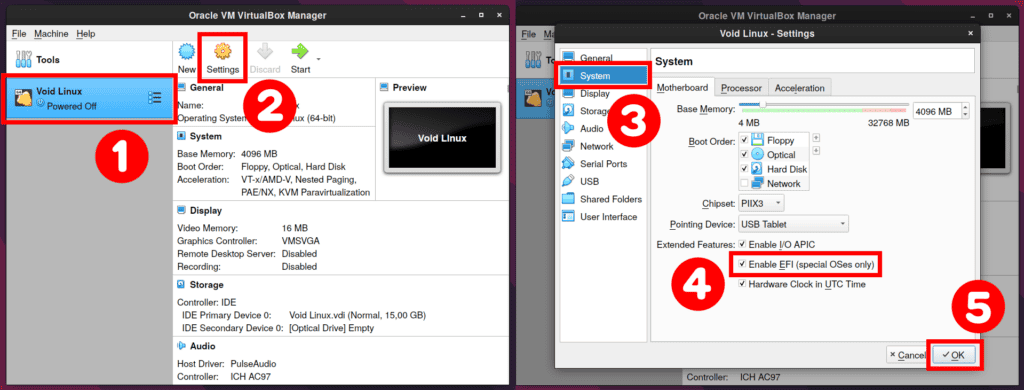
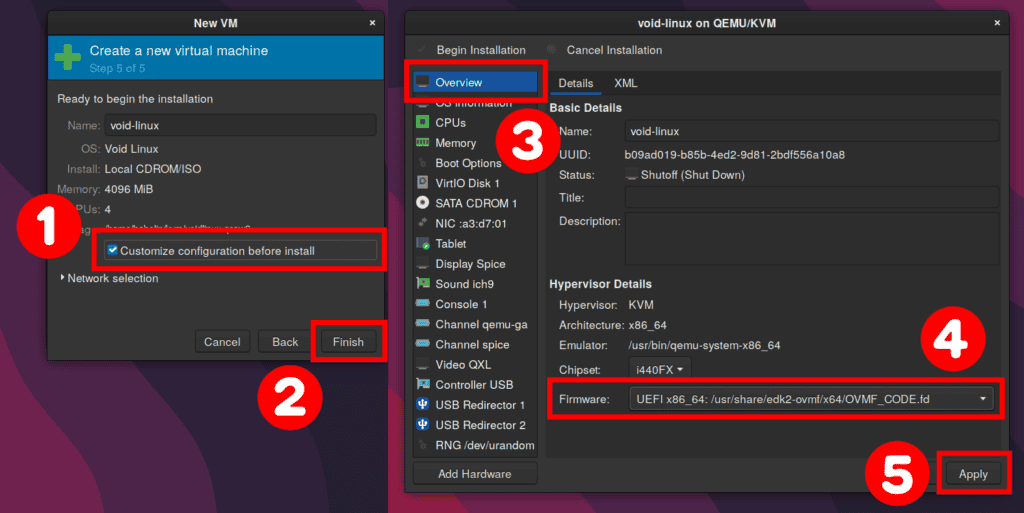
You can install Void Linux directly to your computer or inside a virtual machine using VirtualBox or KVM. If using a VM, you must enable EFI in the virtual machine settings before starting the installation. Otherwise an error will occur when attempting to install the GRUB bootloader.
VirtualBox
Virt-Manager / KVM
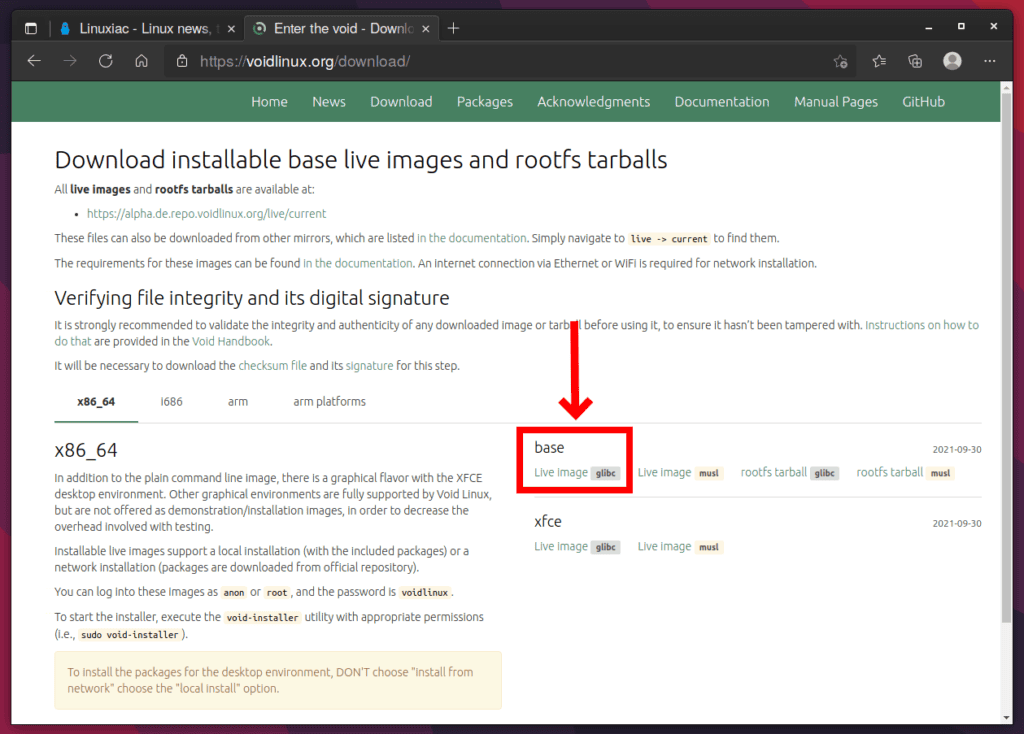
Void comes with two C standard libraries: glibc and musl. glibc is widely used and has the broadest software compatibility. musl is a cleaner, smaller implementation but some programs may not yet support it fully.
For this guide we will use the glibc version. Visit the Void Linux download page and grab the base Live image with glibc.
Once the ISO finishes downloading, create a bootable USB drive. You can use the dd command, or a graphical tool such as Etcher or Ventoy. Any method that writes the ISO correctly to the USB will work.
/dev/sdX with your actual USB device. Use lsblk to identify it. This command will erase all data on the target device.Shut down your computer, plug in the USB, and boot. If secure boot is enabled in your BIOS and prevents booting, disable it first.
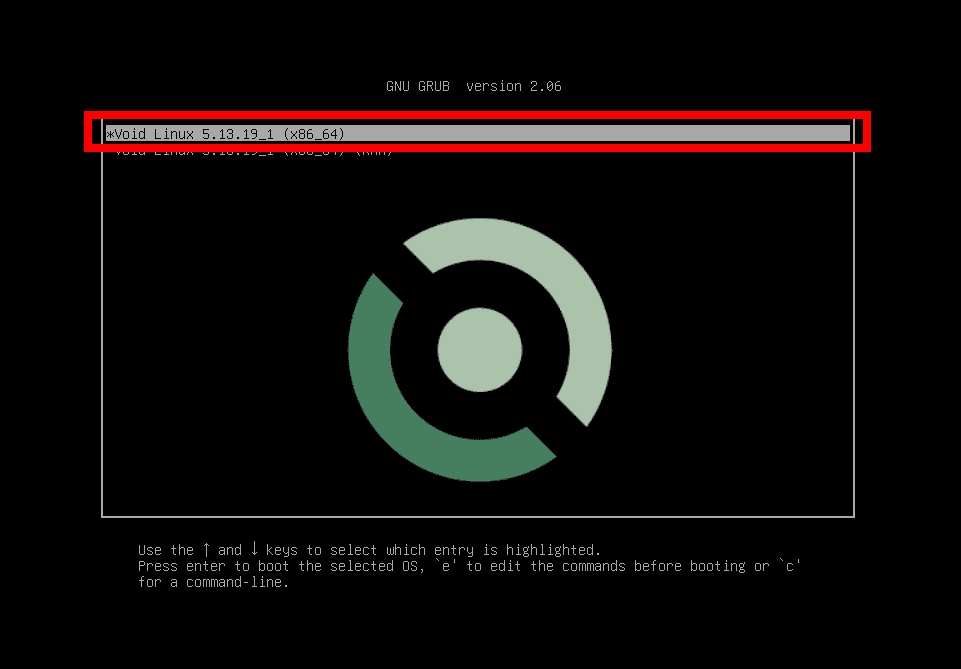
Once booted into the Void ISO, you will see the boot menu. Choose the first option and press Enter.
After the kernel loads you will be dropped into a root terminal. Log in with username root and password voidlinux.
Start the installer by typing:
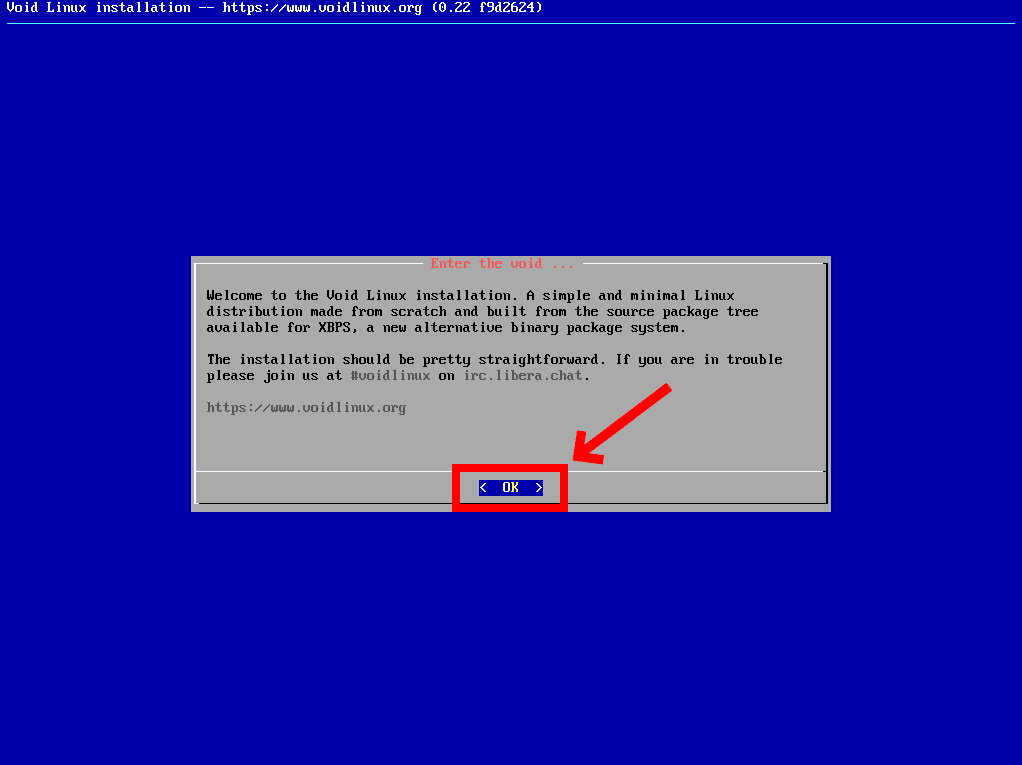
Void uses a simple text-based installer that walks you through each step. Press Enter to begin.
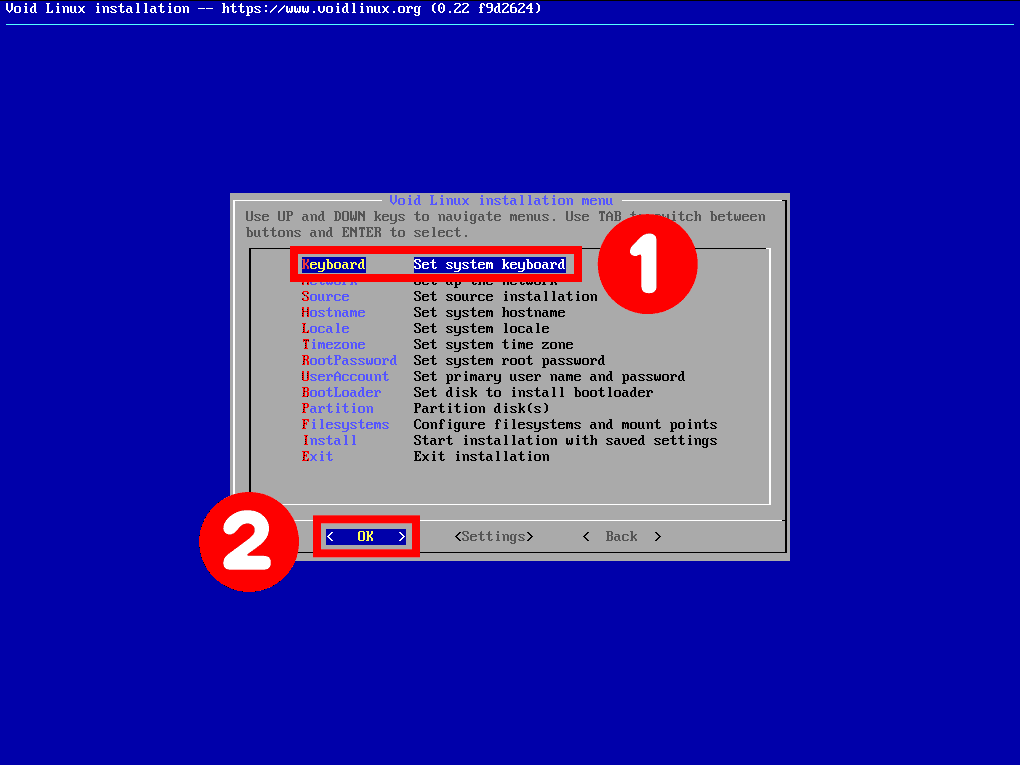
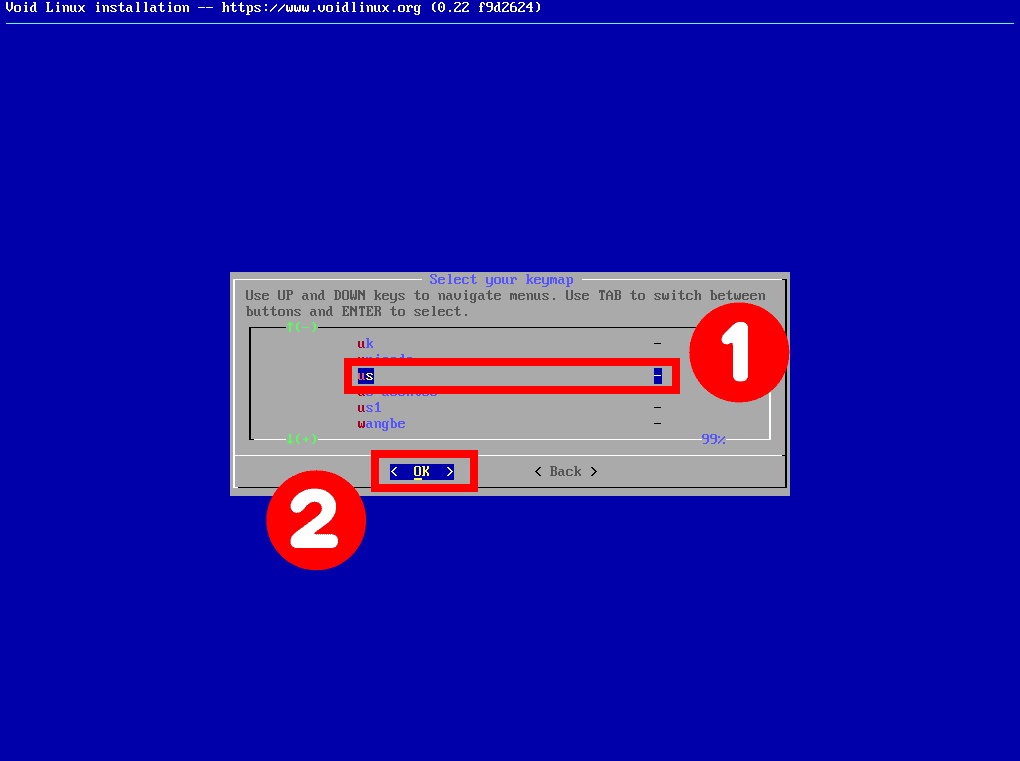
Select your keyboard layout. Navigate to your layout and press Enter.
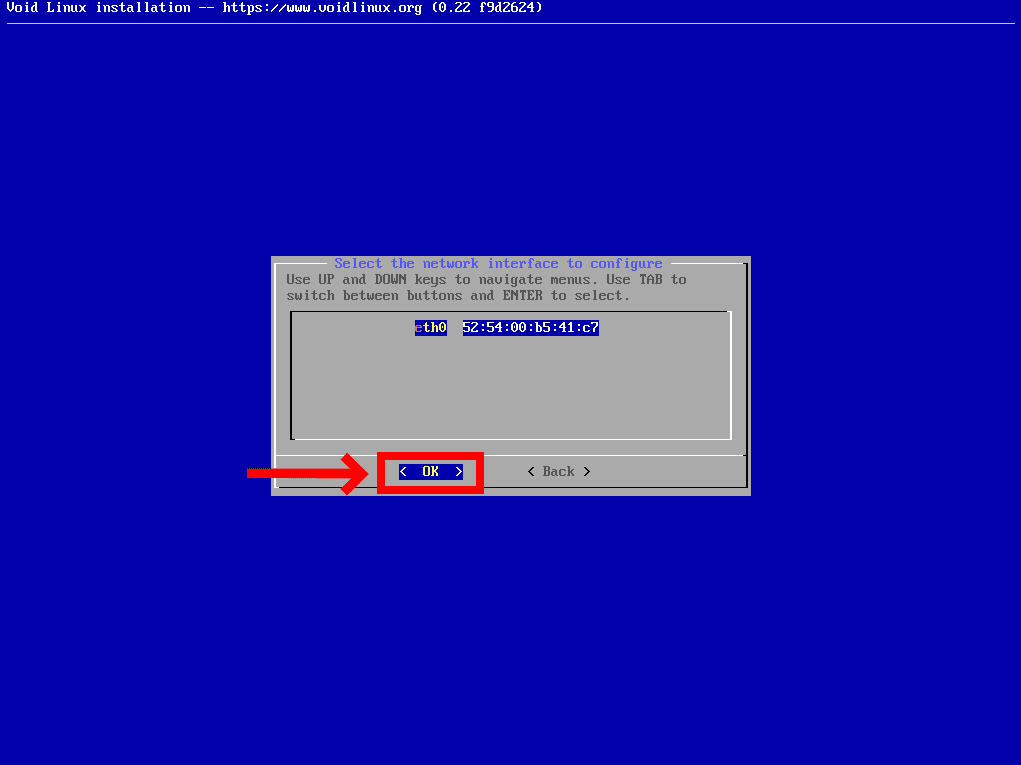
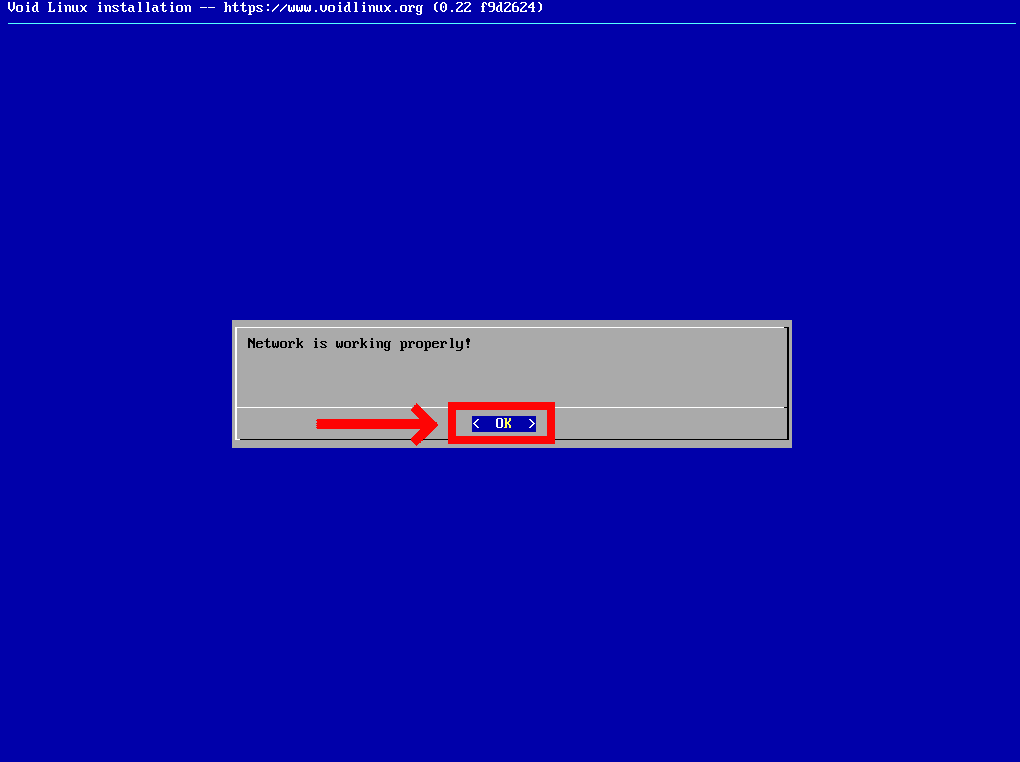
The installer will detect your network adapter. Choose Yes for DHCP to automatically obtain an IP address from your router.
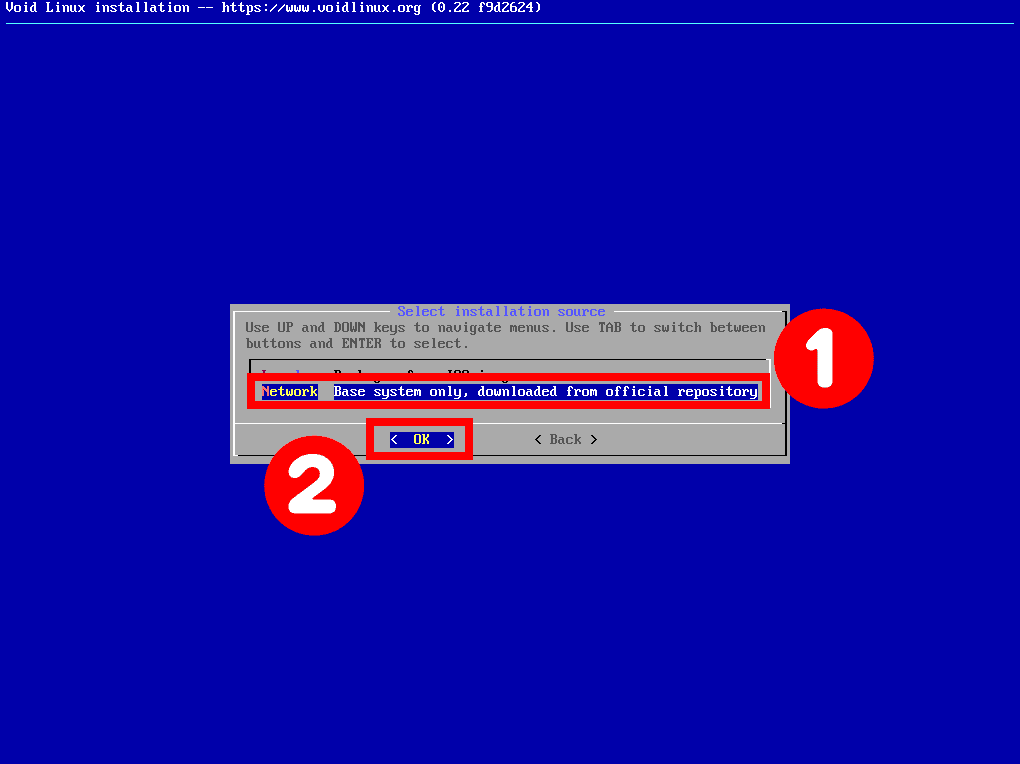
Select Network to fetch the latest packages directly from the Void repositories. This requires a working internet connection but ensures you get the most up-to-date software.
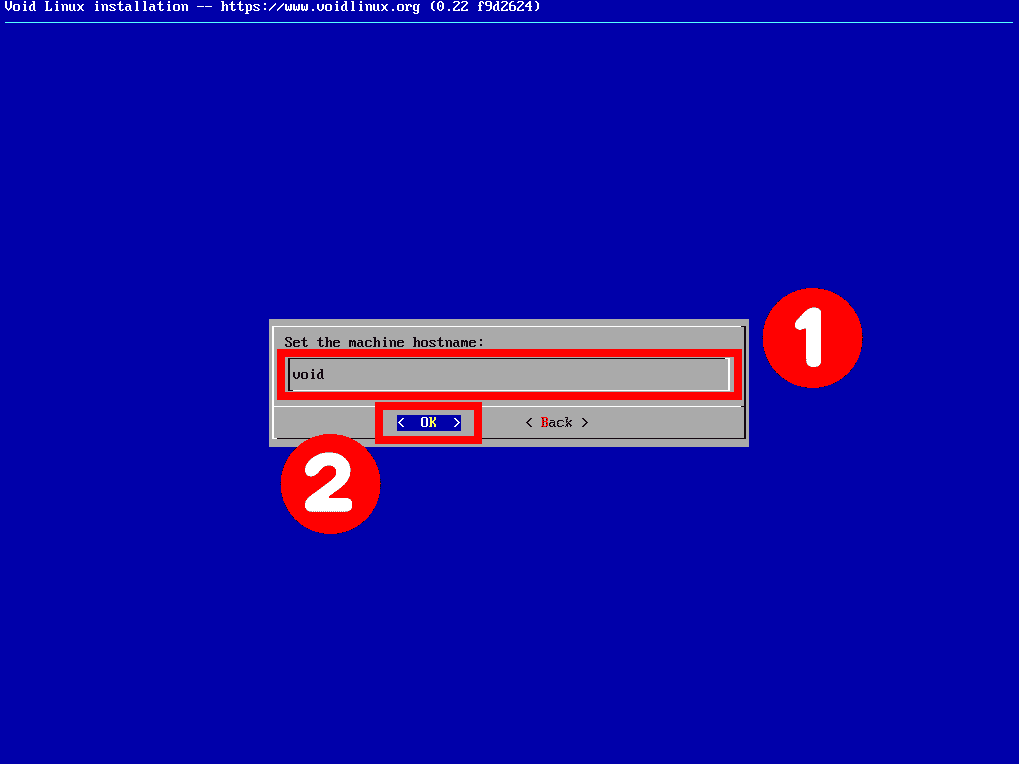
Enter a hostname for your machine. It can be anything you want — this is the name your system will use to identify itself on the network.
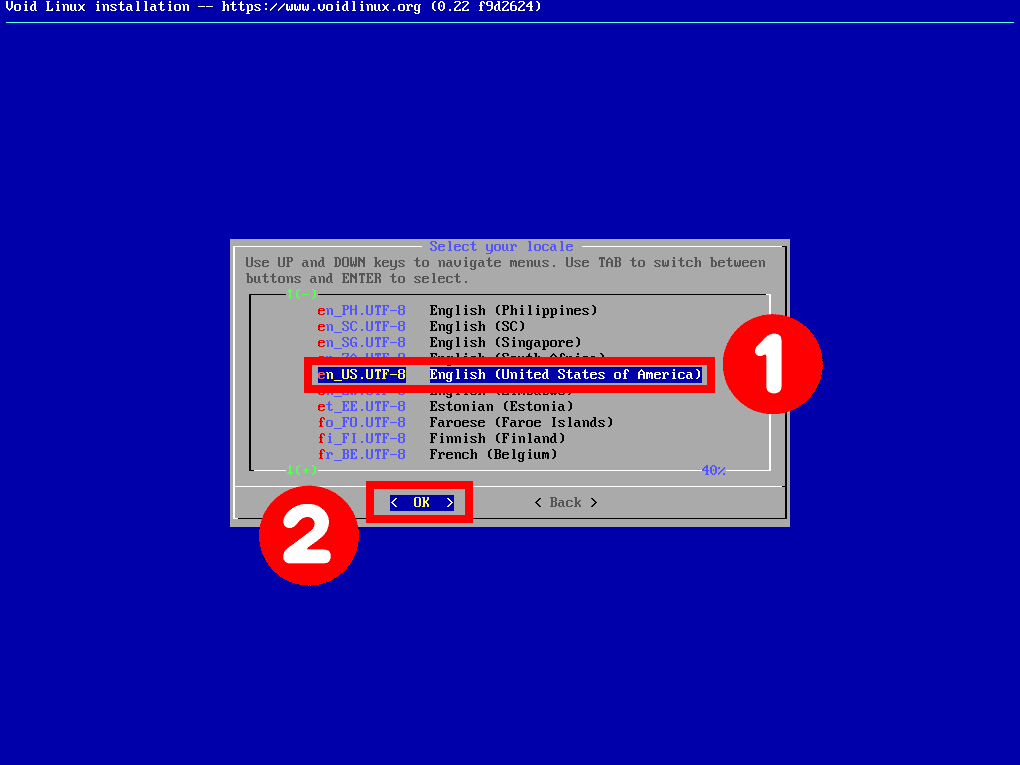
Select en_US.UTF-8 or the locale appropriate for your language and region.
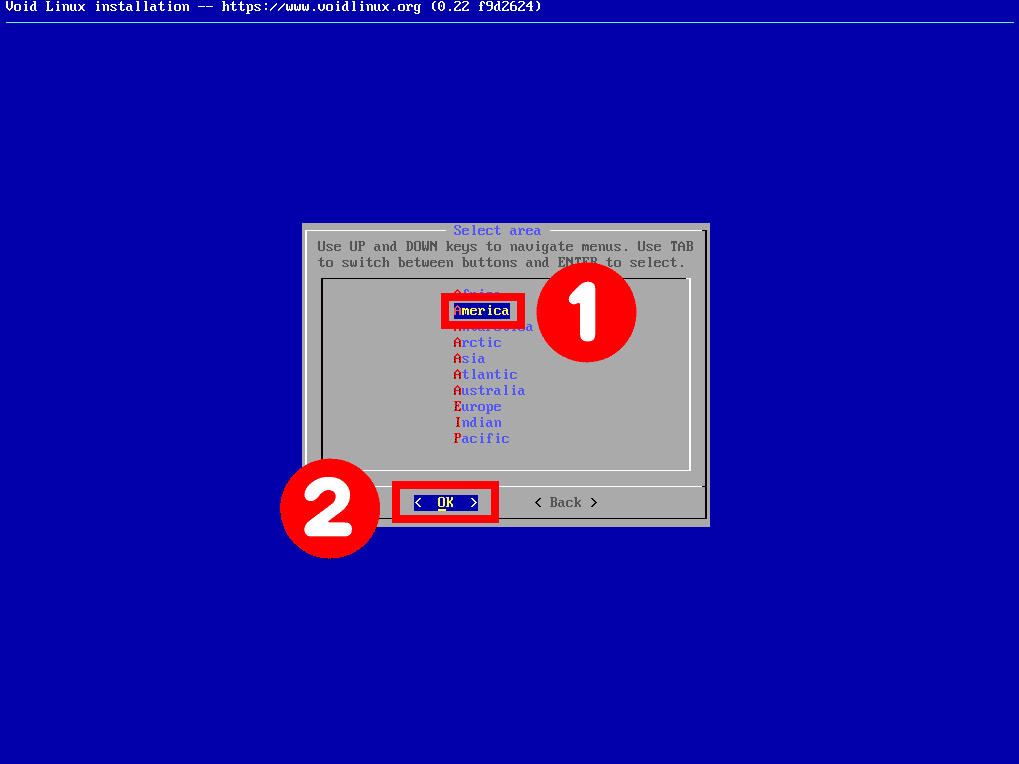
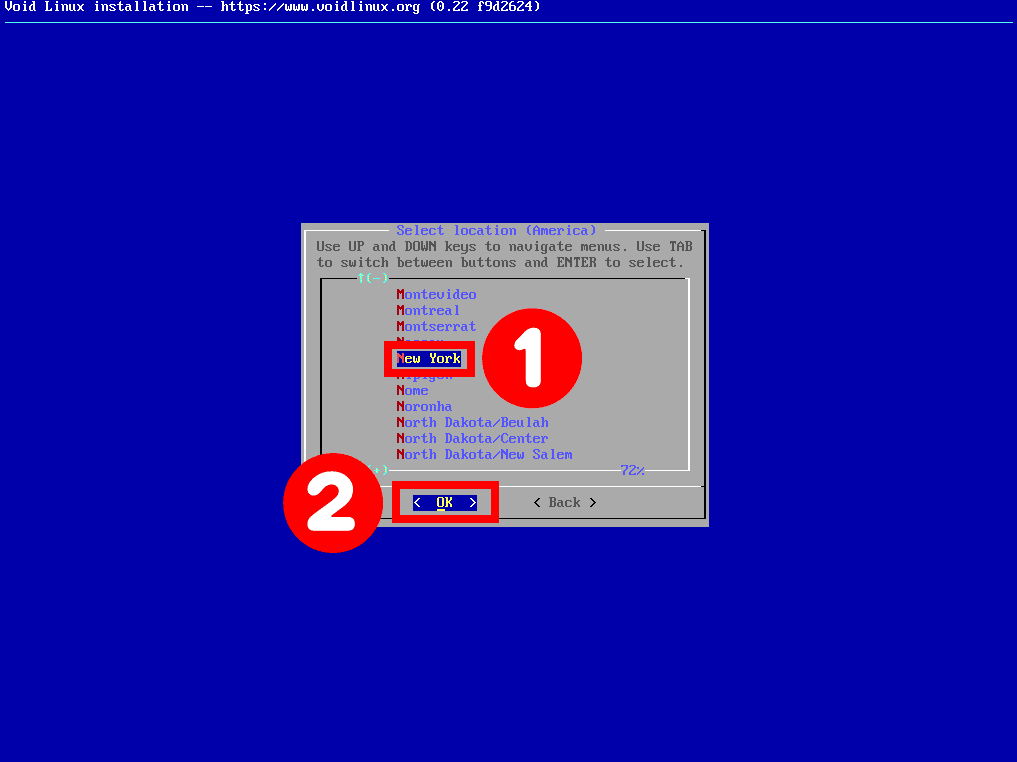
Select the timezone closest to your location to set the system clock correctly.
Set a strong password for the root account. You will be asked to confirm it. Do not use a weak password here — this is full system access.

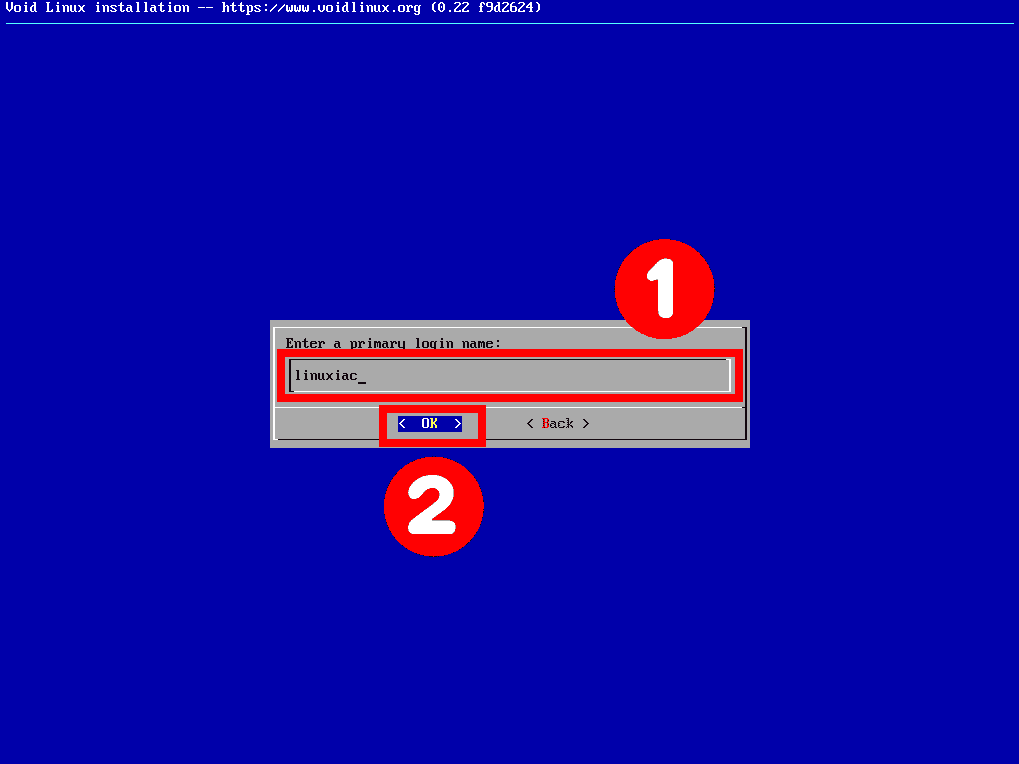
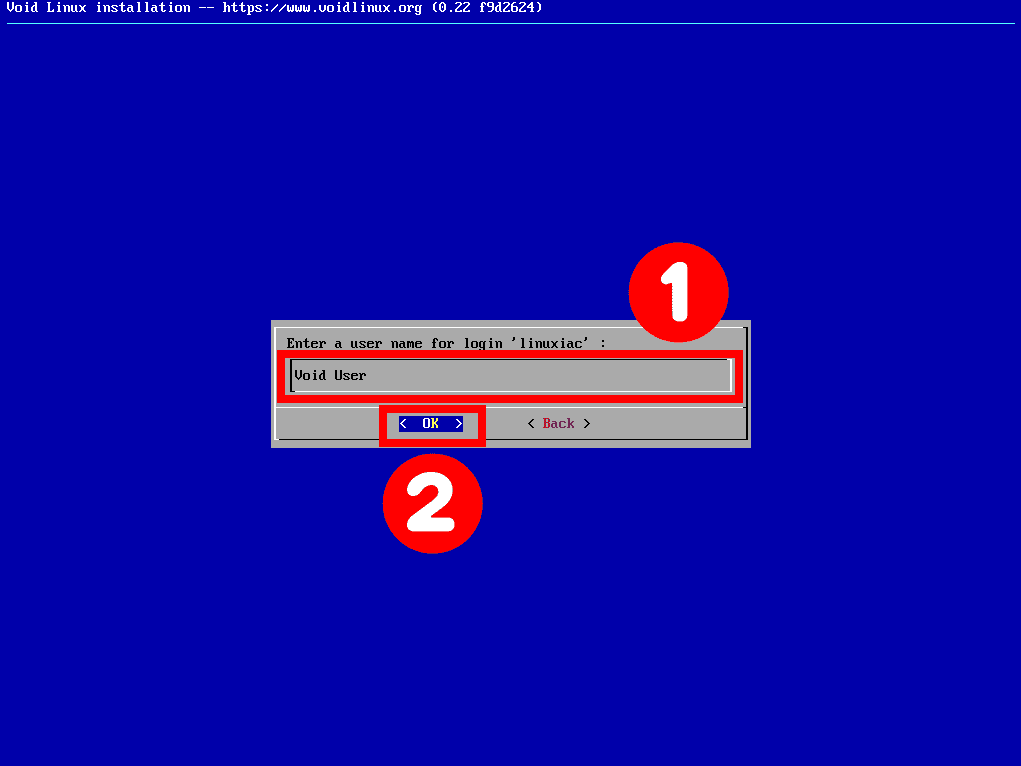
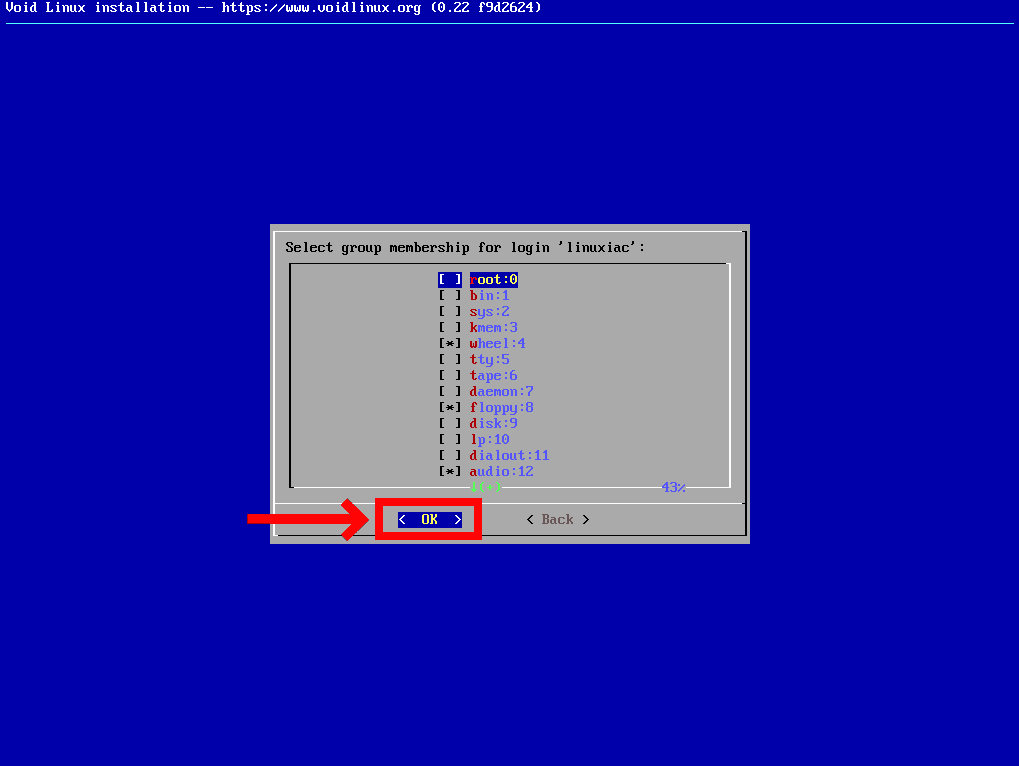
Create your primary user account. This is the account you will use for day-to-day access to the desktop.
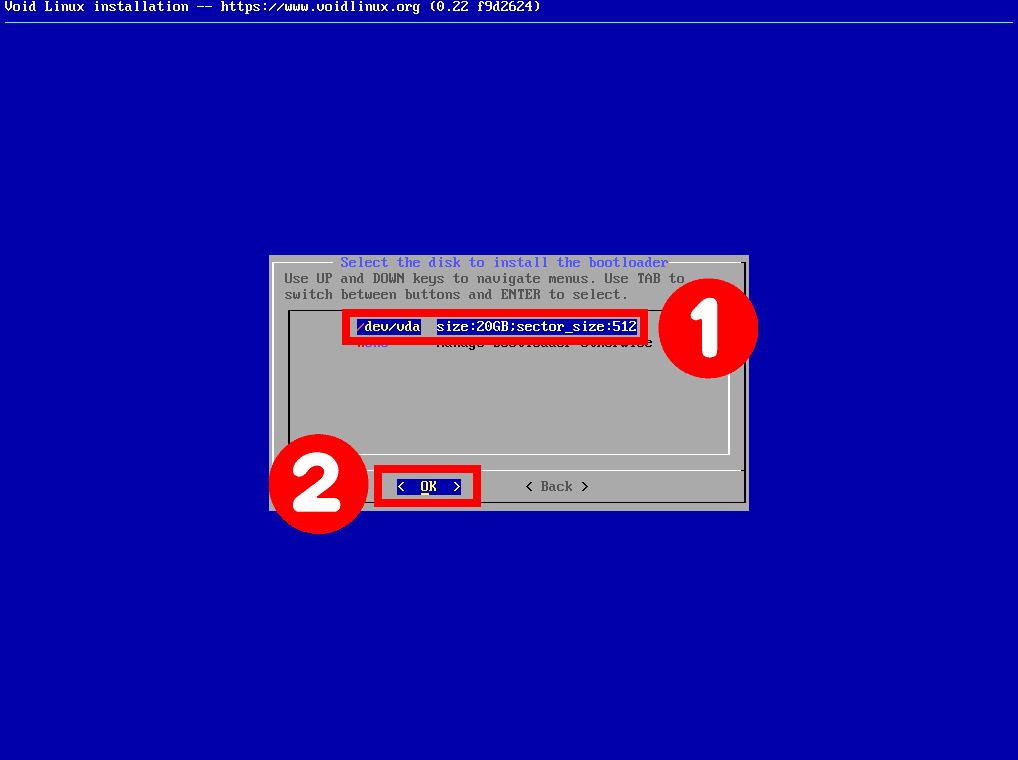
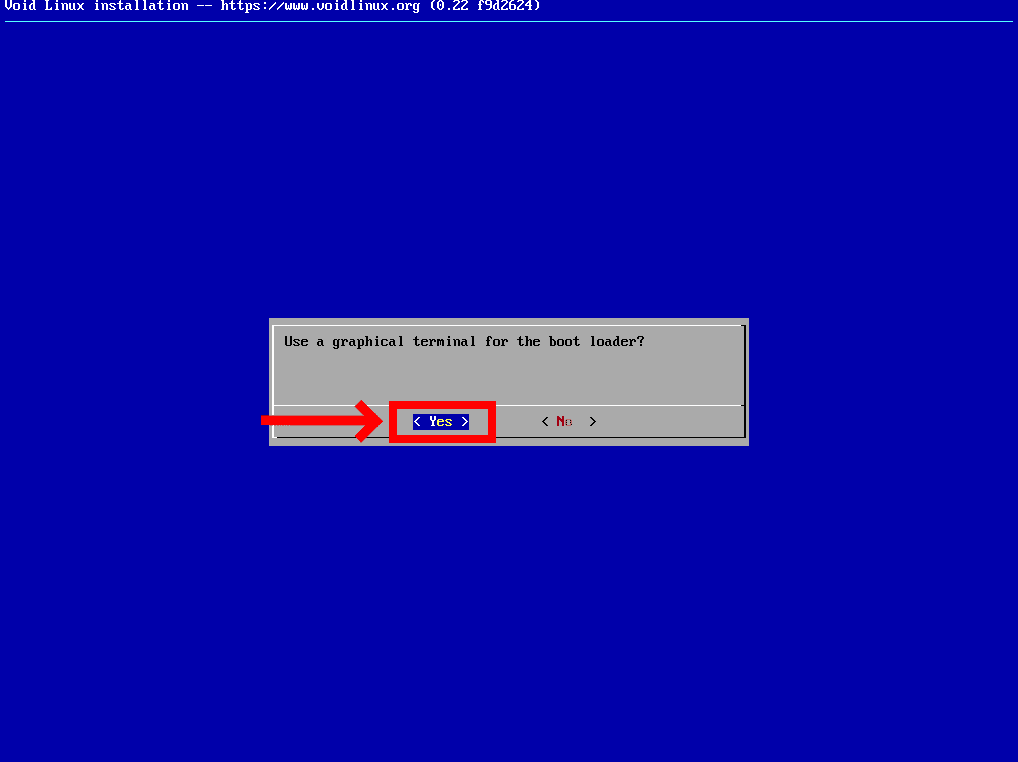
Select the disk where GRUB will be installed. If you have only one disk, select it. When asked about the graphical terminal for the bootloader, choose Yes.
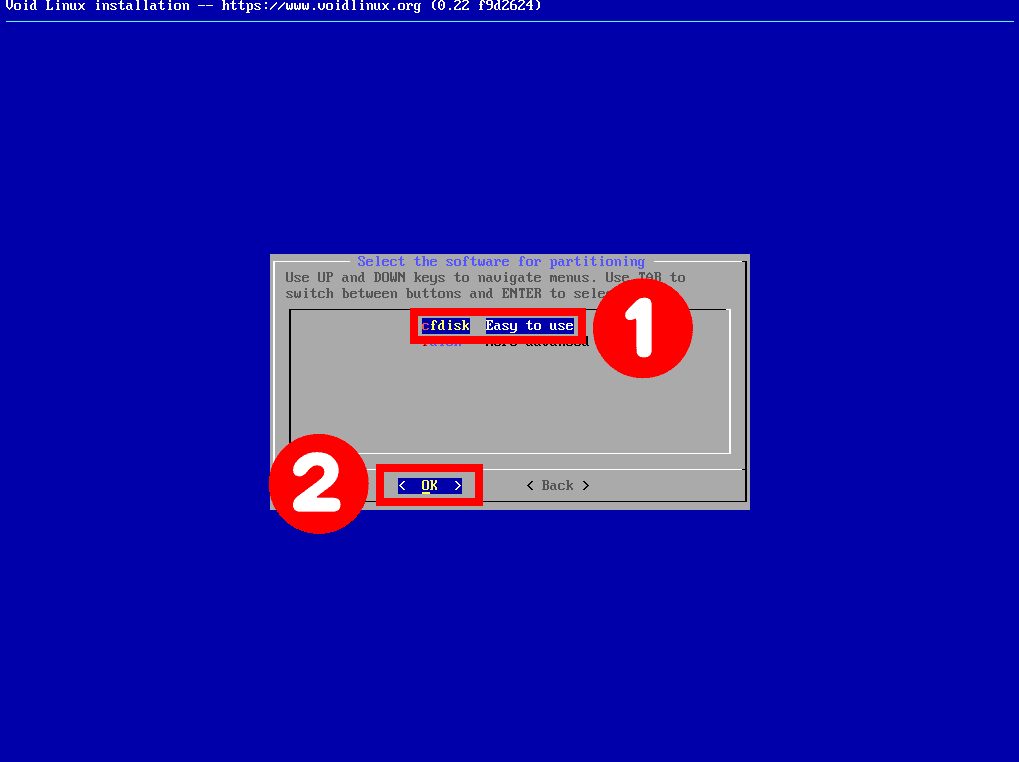
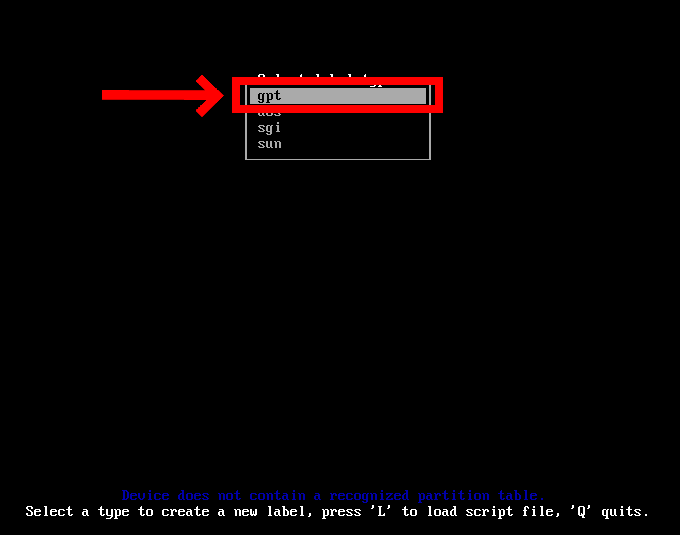
Select your disk and choose cfdisk as the partitioning tool — it is the simplest. When asked for a label type, select gpt.
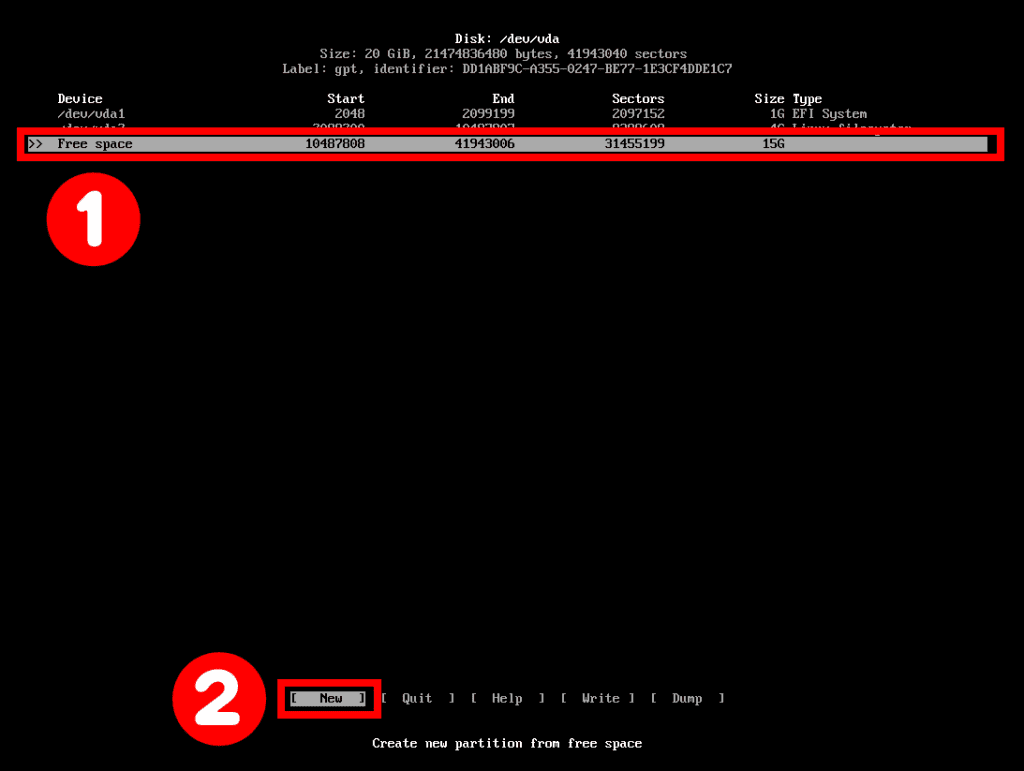
Create three partitions:
/dev/vda1 — 1G — EFI System
/dev/vda2 — 4G — Linux swap
/dev/vda3 — remaining space — Linux filesystem (root)

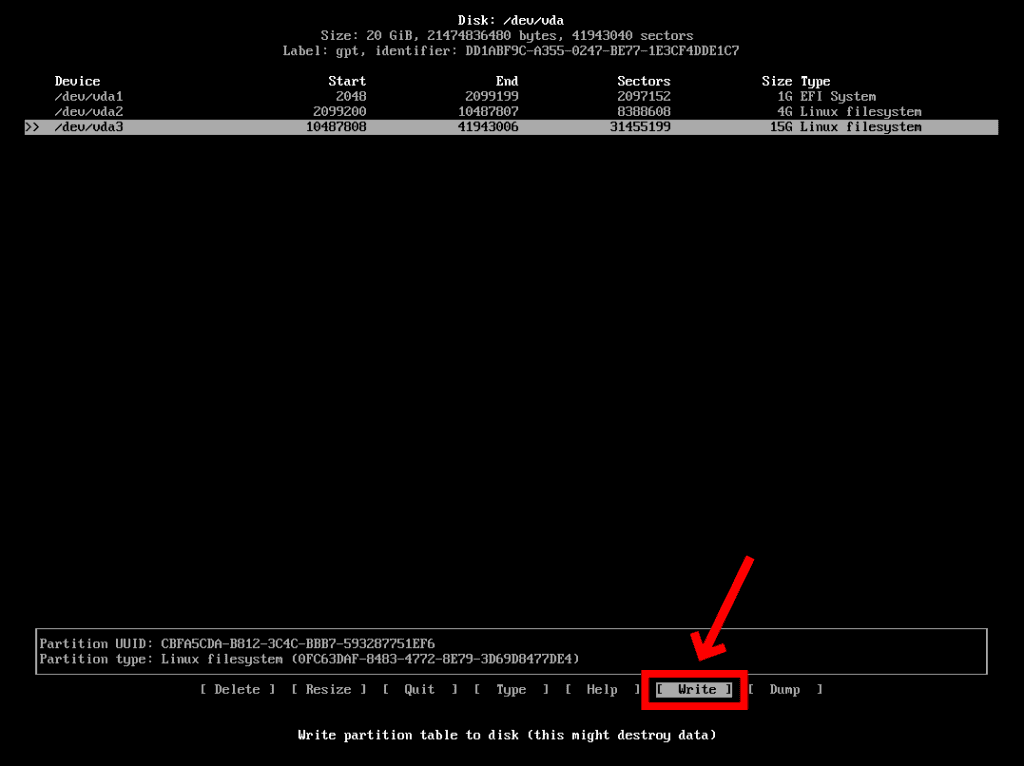
Once done, select Quit to exit cfdisk and return to the installer.
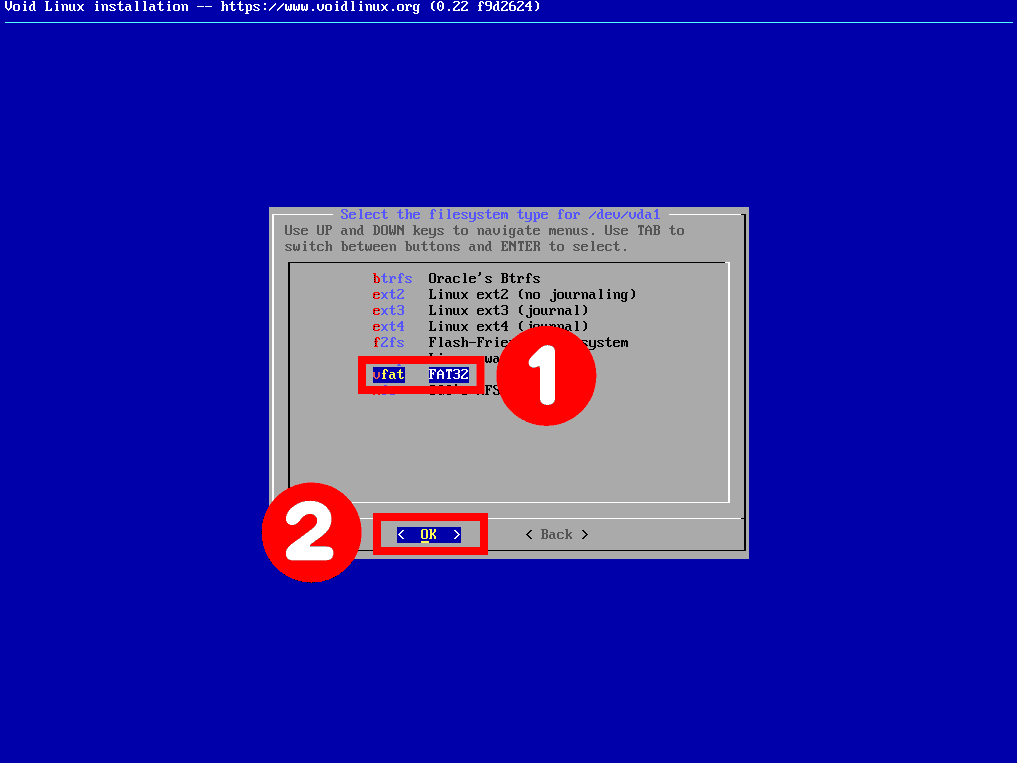
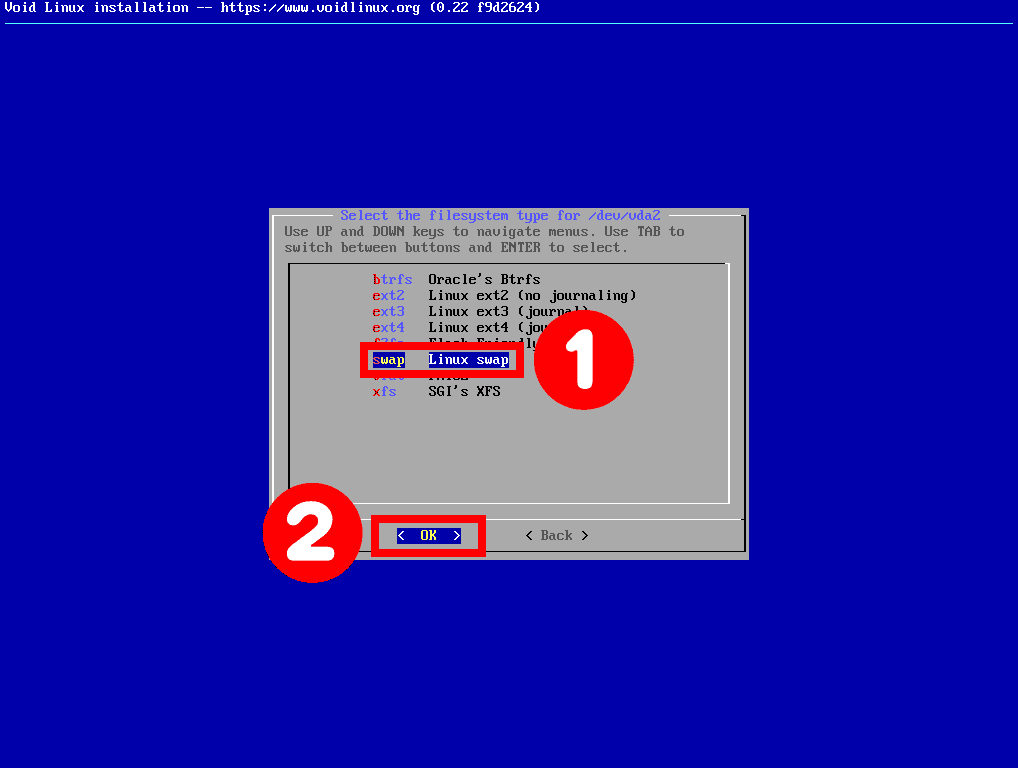
Now assign a filesystem type and mount point to each partition:
/dev/vda2 → swap
/dev/vda3 → ext4 → mount at /
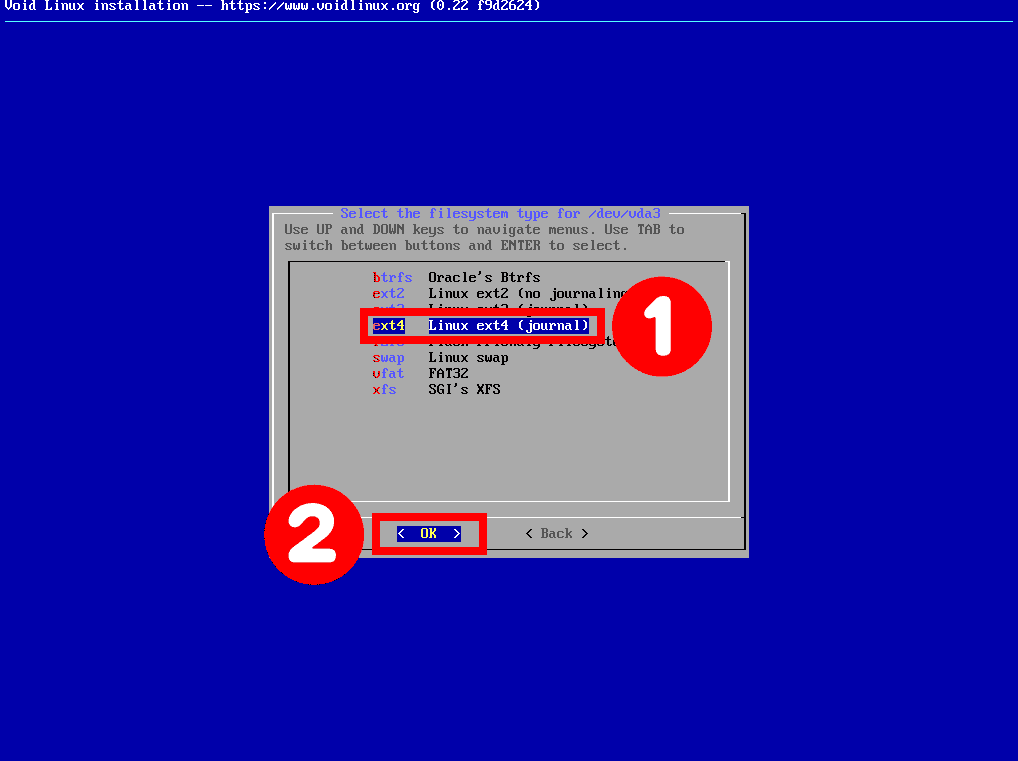
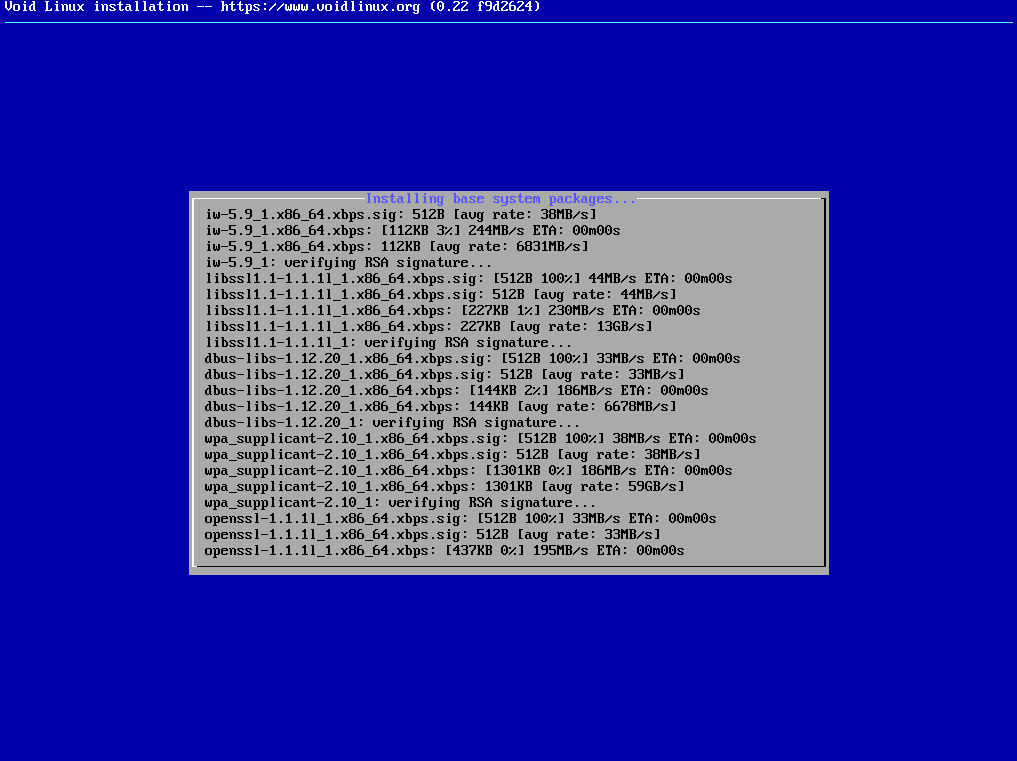
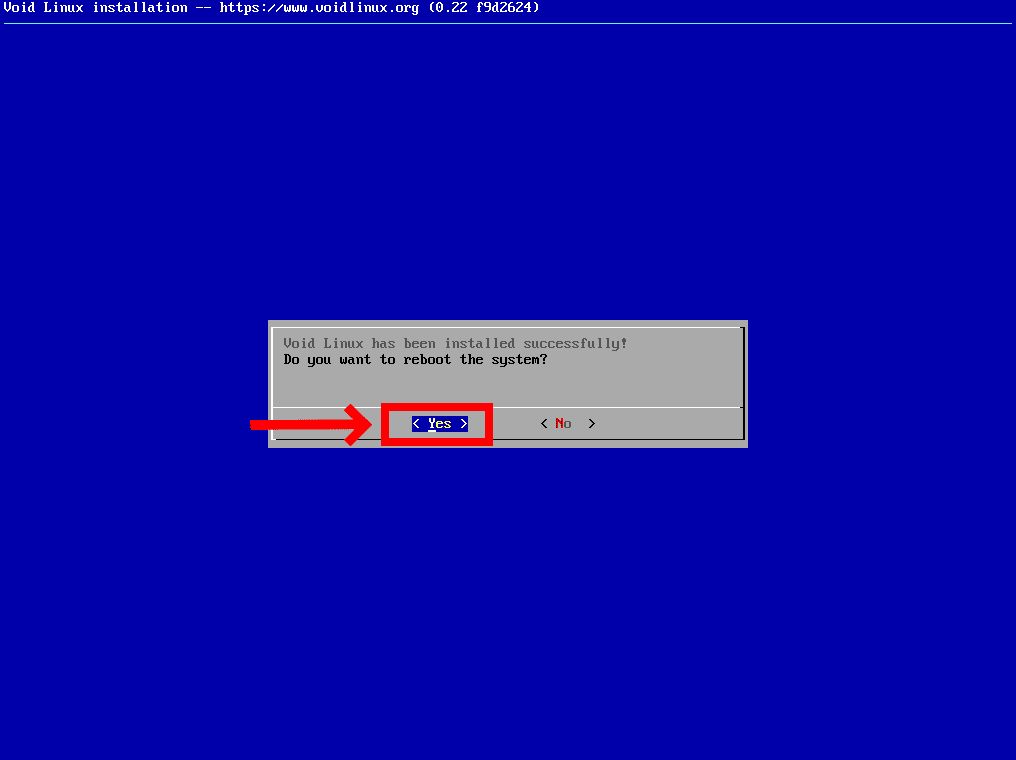
When all three partitions are configured, scroll to Done and press Enter. Then select Install and confirm with Yes. The download and installation will begin.
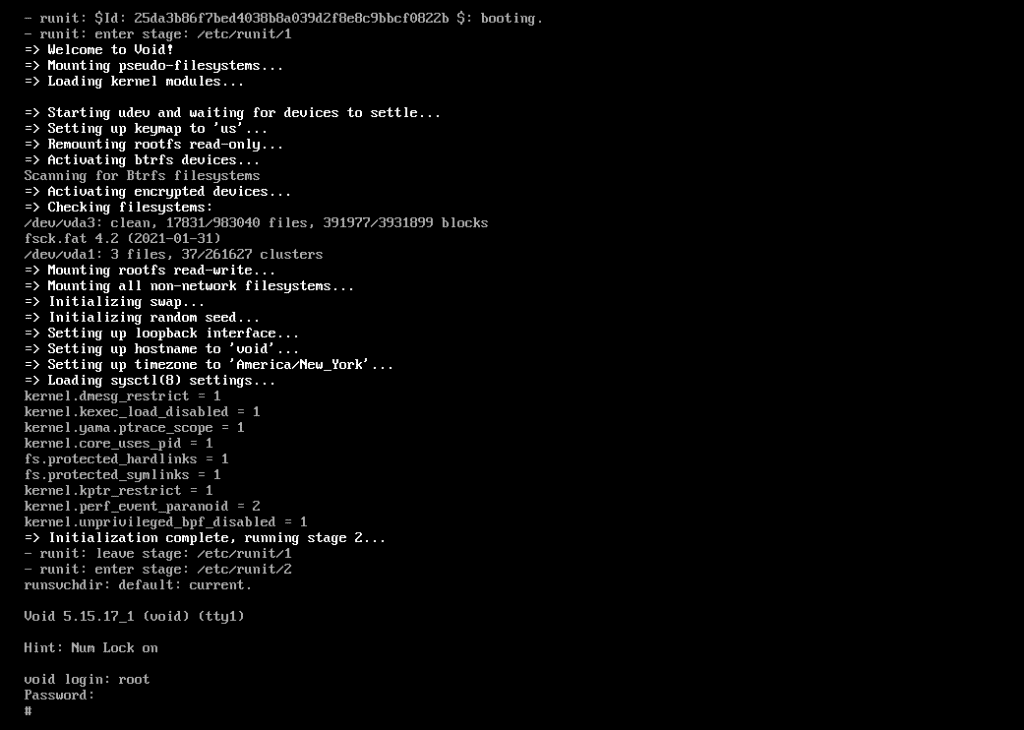
At this point your Void Linux system has only the essential command-line packages. No desktop environment is installed yet. Log in as root and proceed.
First, change the default root shell to Bash:

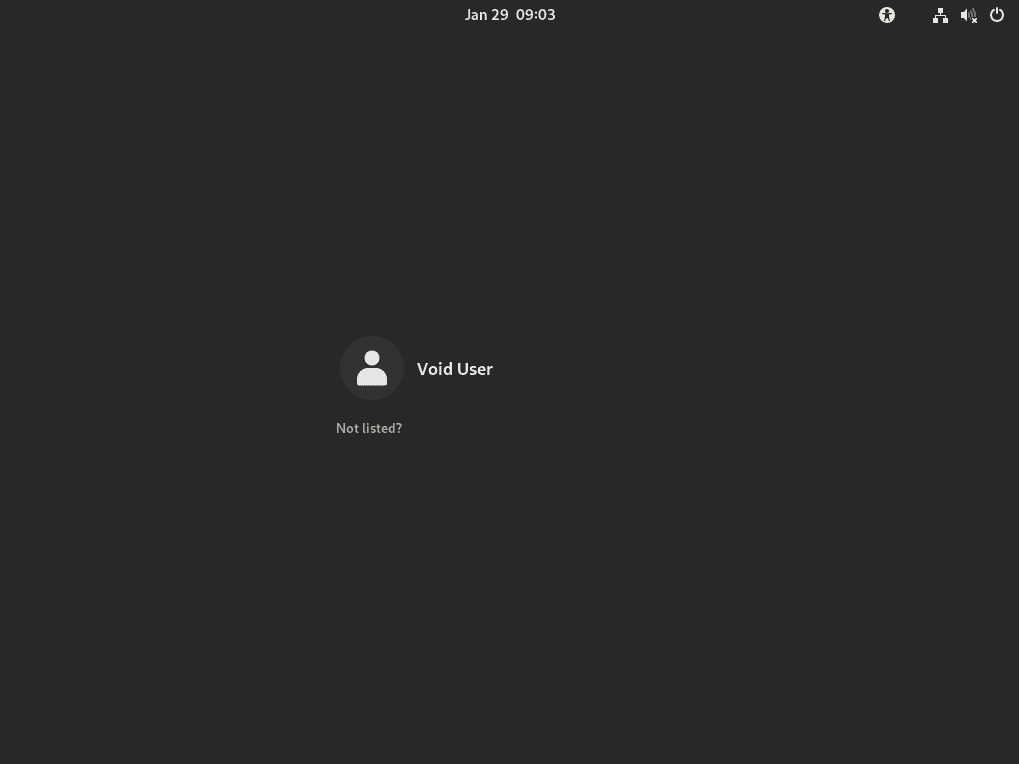
Log out with Ctrl+D and log back in so the change takes effect. Then install GNOME:
gnome gnome-apps xorg with xfce4, kde5, lxqt, or any other DE available in XBPS. GNOME is used here for illustration only — on a systemd-free system, lighter options like XFCE are often preferred.Once installed, enable the required services using runit. In Void, enabling a service means creating a symlink in /var/service/:
/etc/sv/. A service is enabled when a symlink to it exists in /var/service/. To disable a service, remove the symlink. Simple, transparent, no binary formats.
Enable PipeWire and WirePlumber to autostart when you log into the desktop:

Congratulations. You are now running Void Linux with runit. Your PID 1 does one thing and does it well. From here, the Void Linux Handbook is your best next resource for configuration, package management, and customization.
ps -p 1 -o comm=. The output should be runit. Welcome to the other side.